First, here are a couple pics of me at 38 weeks. When I look at these, I wonder who that person is. Kinda looks like me, but jeeeez look at that belly!
 |
| (Not sure why these came out so neon-y..) |
Kinda hard to believe that's my baby in there, super close to coming out to play!
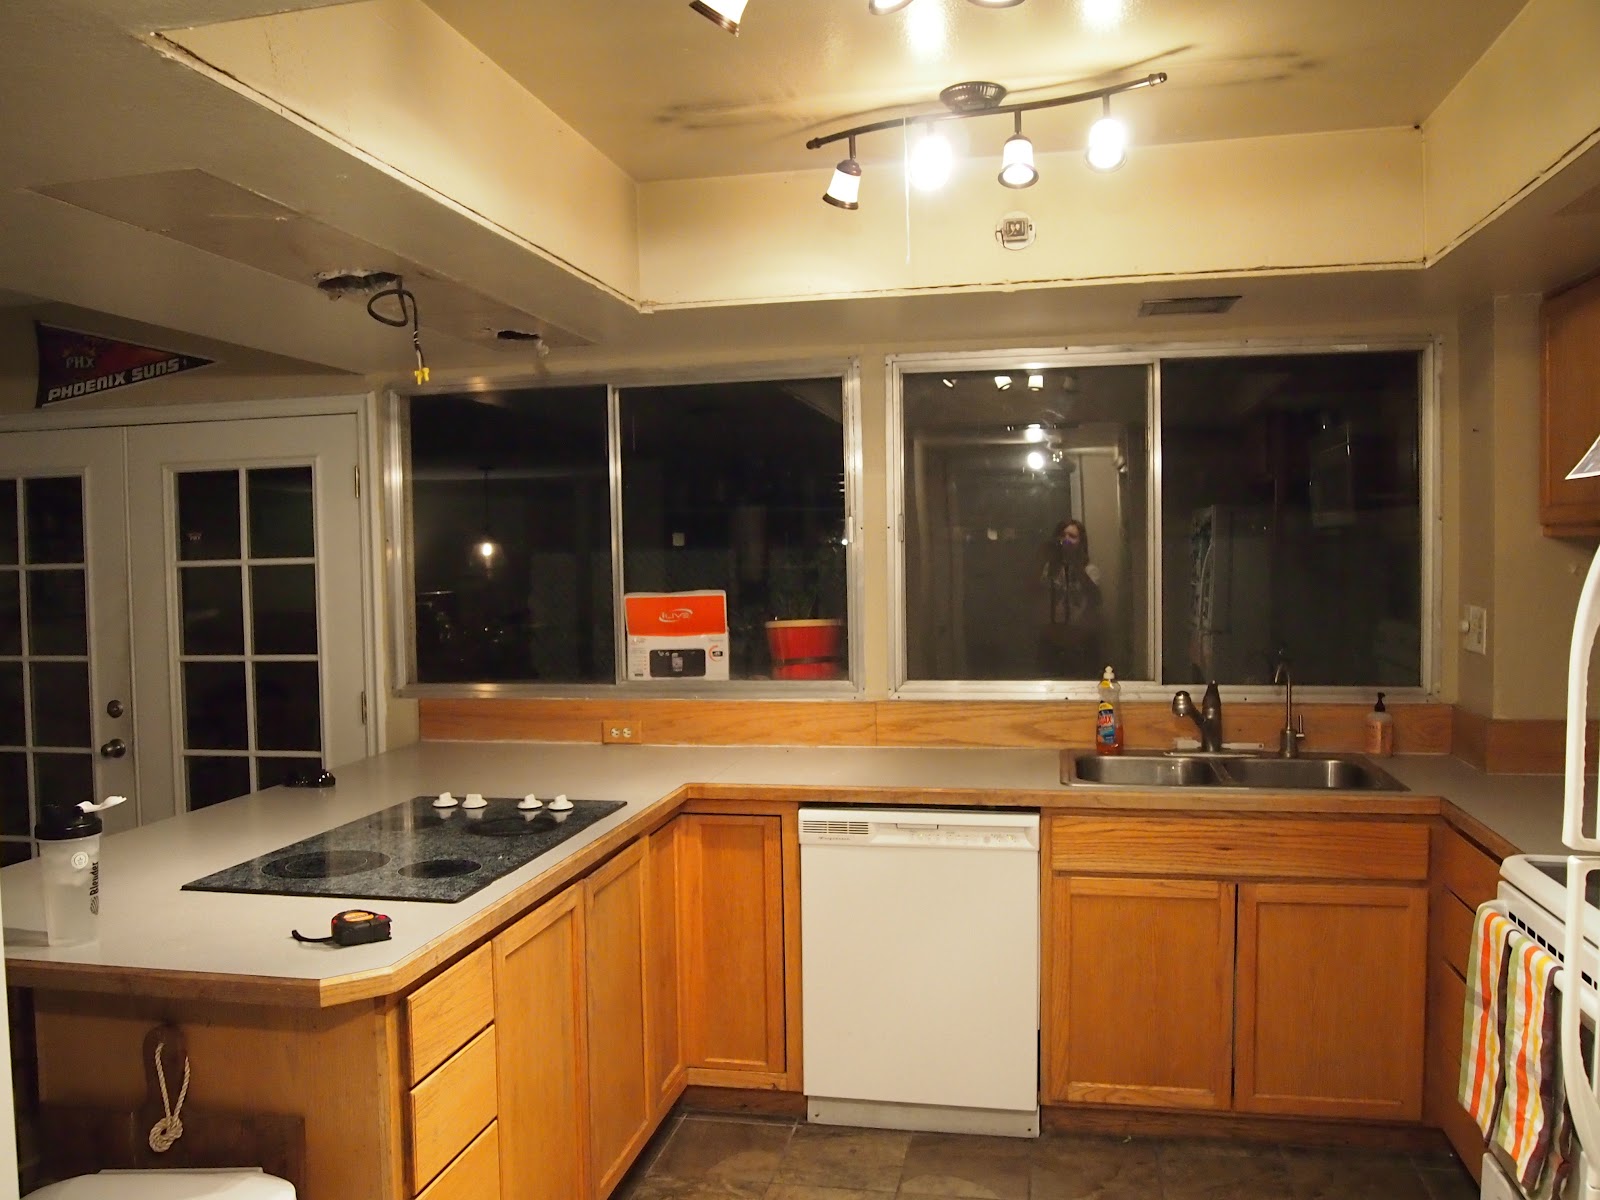
And now, for the kitchen! My husband bought our townhouse a couple years before we met, and with the market being the way it is, the house just isn't worth what he paid for it. So we really didn't want to put much money into renovating our kitchen. But it was in SERIOUS need of work, so we got creative and made some updates that we are really happy with. First, the befores:
 |
| This has been the state of our kitchen since I moved in. BORING, cheap, and just not done. |
 |
| Notice the bulkhead on the ceiling. The worst. |
 |
| Oh, also there were holes in it... |
 |
| We have an entire wall of windows, which is nice for the light they bring in, but they're not very pretty. |
 |
| Super cheap laminate countertops, with a cook top that only half works. That had to go. |
 |
| This is the kitchen after the first day of demo- no more bulkhead! |
And now, the afters!:
So, to keep within our tiny budget, we decided to refinish the existing cabinets. We painted them and installed bead board into the centers of the cabinet faces. We planned on painting the cabinets white, but in the end chose a nice brown-y grey. We love how they turned out!
We also put bead board up in place of a more expensive tile backsplash. We may change this later (when budget permits), but for now, we really like it! It cost almost nothing but made a really big difference.
I may have slightly over-decorated this little corner, but I really love finally being able to display some of my cute little things.
 |
| Close up of the backsplash, counter tops, and paint color. |
The pic above gives you a good view of the lower cabinets, as well as the tile flooring that my husband put in when he first moved in. He made really good flooring choices, thank God! We also decided to keep the white appliances. We didn't want to spend a lot on new appliances, and we actually like the way the white ones look in the room. Who would've thought?
 |
| Please ignore that trash can. I don't know what I was thinking leaving that in the pictures. |
Eventually we will figure out some sort of functional/pretty window coverings, and maybe add a shelf above the windows. But for now, Ray and his dad built white frames to cover the cheap and ugly metal window frames.
 |
| Here's a close up of the bead board backsplash underneath the windows. |
 |
| View from the entryway. |
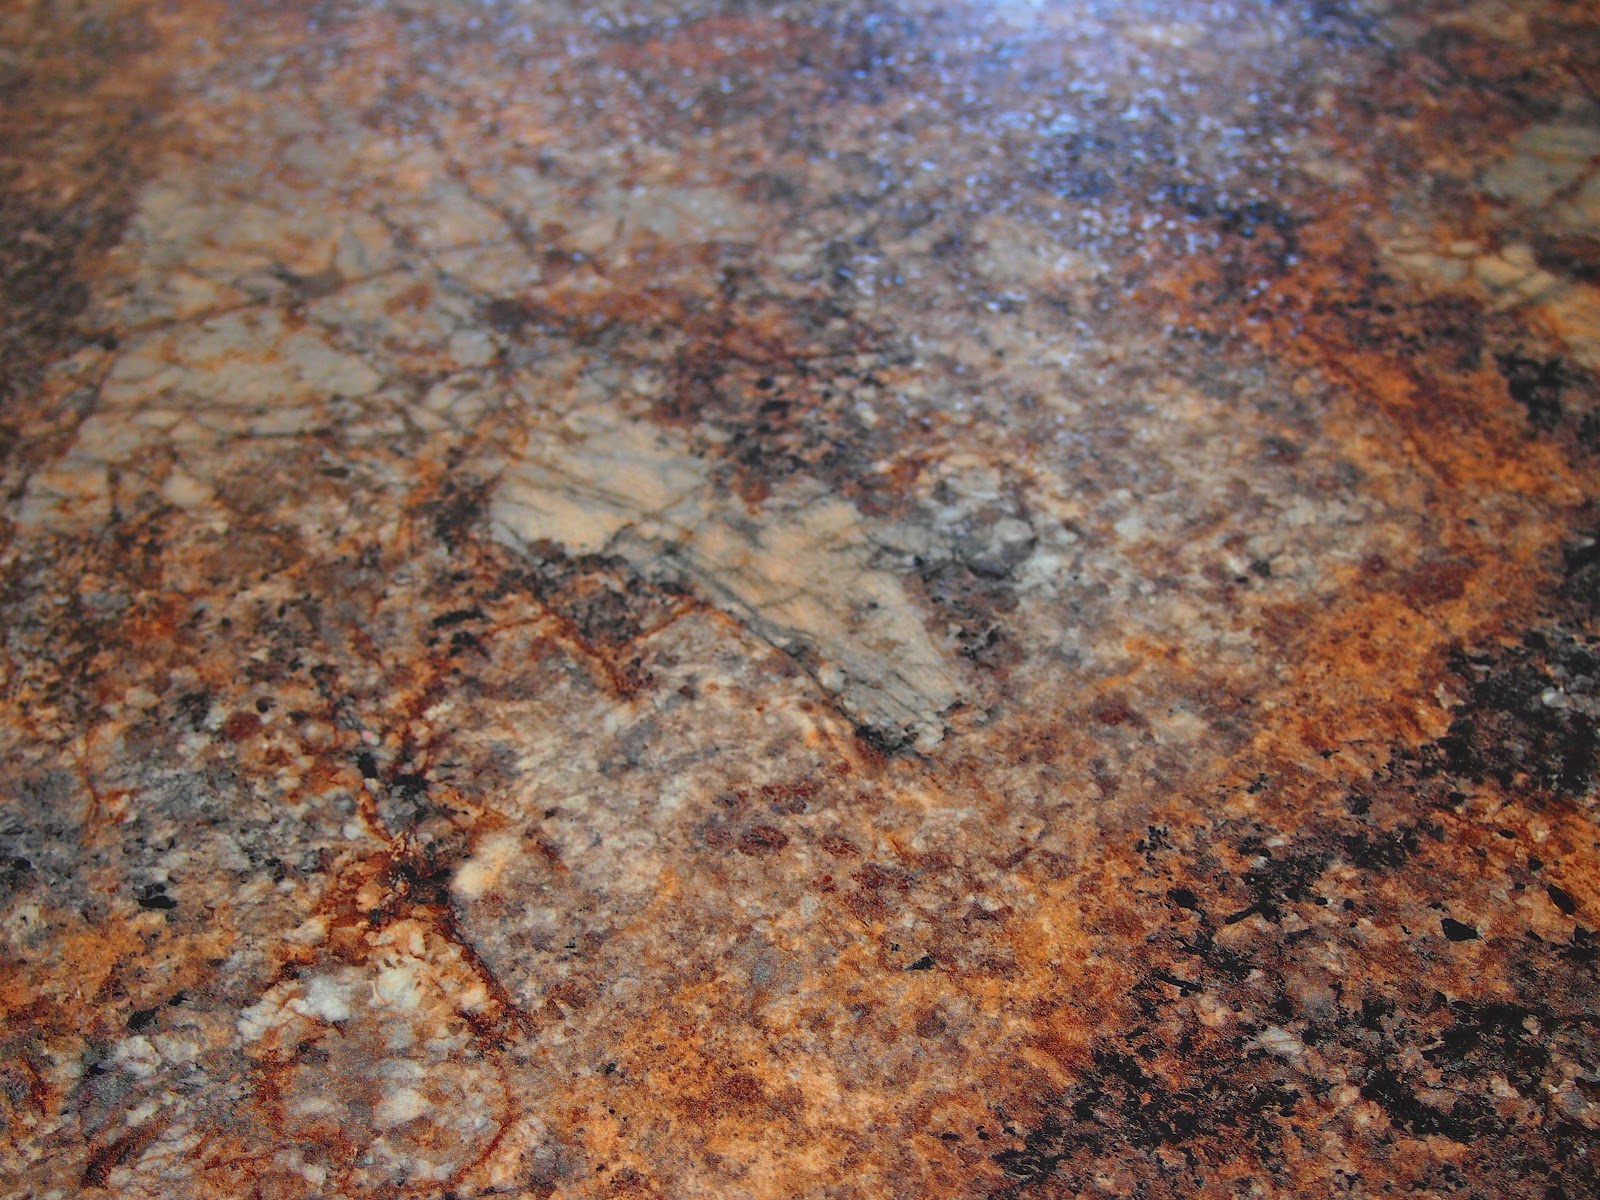
I love the island now that that awful cooktop is gone. There's so much space to work and entertain! For the counter tops, we decided it was appropriate to stick with a laminate, since again, we really didn't want to put too much money into the kitchen. I wasn't super excited about it, but we actually found a laminate that we really love. I think it looks the most like a natural stone, the colors are great, and I love the little bit of sparkle in the sunlight!
 |
| Close up of the counter top. Notice the little hint of a shimmer. |
Above is the view from the kitchen into our entryway. This room seems to always be in transition, as we try to figure out the best way to use the space. For now, Ray's mom refinished this antique bar for us in the same color as the kitchen cabinets. We also just added the mirror, which really opens up the room and makes the kitchen look bigger.
 |
| This space is purely functional at the moment. I love having a place to hang my things, but it definitely needs something. Maybe a bench that doubles as seating and storage? |
And then here are a few little details:
 |
| I LOVE peonies! |
 |
| I collect salt and pepper shakers, and have quite a few in the shape of little birds. These are my favorite. |
My very clever husband mounted our spice rack above the stove to save space. Since the kitchen is pretty small, little things like this make all the difference.
And that's it! We are really happy with the way everything turned out. We put a lot of work in to it, and did almost everything ourselves to save money. In all, we spent about $2500, and we think we got major impact on a minor budget.
Ray's parents were a HUGE help. They were here every weekend for what feels like months, painting, calking, framing, and just doing anything and everything we needed to get the job done. Thank you so much Ray and Laura!
My mom will be here on Wednesday to help prepare for the baby's arrival. (He is due in just 8 days, and there is still so much to do!) So, that means Ray have just 2 nights left in our house alone together, before we become parents. Wow! We're almost parents! Ray just made me brownies, without my even asking for them, so I'd say it's time for me to sign off and spend some time with my man.
I'll leave you with this:
 |
| Our sweet little dog Bagel, who requires all of our attention at the moment. Isn't he cute?? Poor little dog. He has no idea what's coming! |