home about contact product love sponsor
Showing posts with label Projects. Show all posts

Friday, February 28, 2014

Weekend Inspiration


I made these cheesy potatoes a while back, and oh my goodness they were good. I ended up finishing them off with club crackers, because as we all know, every starch just needs another starch to go with it. The blasted weatherman ("sunny, then sunny and hot, then hot and even more sunny") is predicting rain for this weekend. I'll believe it when I see it, but just in case, these are going in the crock pot first thing tomorrow. They are the perfect thing for a rainy day!


I want my hair to look like this. All.The.Time. Alas, I don't have perfect hair and no matter what I do, my braids always look like a 2 year old did them so it's probably never gonna happen. That's not going to stop me from trying to achieve this look this weekend!


Speaking of this weekend... We got a call from our new landlord on Thursday telling us the house is ready for us to move in right away! We are a little bit in shock, a lot excited, and more and more ready to start moving in. I haven't packed a thing, and it may or may not rain on our moving parade, but I'm taking deep breaths and telling myself it's all going to work out just fine. I can't wait to start organizing all of our things again. Hoping it turns out a bit like that photo above. :)


One of the things I'm looking forward to the most is starting fresh with Emmett's room. I almost called it a nursery, but he's a kid now apparently so let's just call it his room. I'm thinking lots of animals because he's obsessed with them, tons of books, and a little reading nook in one corner.

I'm hoping all of you have a wonderful weekend ahead, just maybe not as busy and hectic as ours will be. Happy Friday, friends!

Wednesday, July 10, 2013

New Flooring Project

The weekend before Emmett's birthday party, Ray and his parents decided to tackle the biggest eyesore in our house... The landing between our front door and our stairs. We have wood floors downstairs and carpet upstairs, but the landing remained carpeted. It was stained and torn, and it stood out like a horribly sore thumb. The landing is the first thing people see when they walk in our front door, so we've been talking about changing it since I moved in after our wedding.

When Ray told me his parents were coming over to rip up the carpet and lay hardwoods, I was ecstatic!   As I mentioned here, it was tough keeping Emmett entertained outside the house while they worked, but we love the new landing so it was totally worth it!

Here are a few before and after photos, but be sure to ignore all of the mess!

See what I mean? That carpet was nasty!


Carpet is gone! Woohooooo!

Pulling up staples for days.

In order to fit the face of the landing with flooring and trim, they decided to square it off.
Progress at the end of day one. It already looks so much better!

Day 2: Beginning to lay the flooring.
Finished! And verrrrrrrry dusty. 

Seriously. Dust for days slash weeks.

Ray's parents are amazing! They are always so happy to spend a weekend helping Ray with a project (see our kitchen renovation here), and they always do such a great job!! We got a lot of compliments on the updated flooring at Emmett's party, and we are so happy with how everything turned out!

Tuesday, May 21, 2013

Instagram Photo Wall Tutorial

I love Instagram. I'm pretty sure everyone who knows me knows that. And I love taking photos with my iPhone, but it's frustrating having all of these photos on my phone with nowhere to display them. So when I came across this tutorial, I knew I had to give it a try!

I used the iPhone app PostalPix to print 50 of my Instagram photos. I chose the 4x4 Pro Luster Prints (perfect for square Instagram photos), which range from $.29-$.33 a piece. For 50 prints plus shipping, I only spent $18.42. Not bad!
My prints arrived in the mail four days later, and I was so pleased with how they turned out! They are printed on high quality archival paper, and the colors came out perfectly. Yay!

Here is everything I used to complete this project:

Photo Prints
Painter's Tape
Tape Measure (I used a yard stick)
Level

I began by measuring the wall to decide exactly where I would place my photo collage. I had 50 prints, at 4 inches by 4 inches a piece. I knew that I wanted to place them in 5 rows of 10 photos, so my collage would measure 40 inches by 20 inches.

I decided on a position on the wall (centered and at eye-level), and began to place my painter's tape around the edges to map out my collage. I used the level to make sure my horizontal lines were perfect.

I realize now that my tape is crooked. I was able to figure it out pretty quickly and compensate.

Because I don't want this collage to be permanent, I decided to use painter's tape to adhere the photos to the wall. My husband was kind enough to assist me in tearing 250 tiny strips of tape- 5 per photo. We placed 5 pieces of rolled tape on the back of each photo- one in each corner and one in the center.


From there, I began adding photos. I didn't think too much about which photos I was putting where- I just started building the collage, knowing I could move photos here and there to find the best place for each one.


Once I had all the photos up where I wanted them, I ran my hands over each one to make sure they were all firmly adhered to the wall. Then I removed the painter's tape around the edges, and admired the finished product!!


The whole project took under an hour. We were able to knock it out during Emmett's notoriously short afternoon nap! Did I mention I spent less than $20?? I know that made my husband happy.
It's not perfect, but I love it. We managed to fill a conspicuously blank, hard-to-fill wall space, and display so many of our favorite photos all at once. And yes, I know I take tons of pics of Emmett! I just can't get enough. :)

***Because I loved using the PostalPix app so much, I reached out to them, and they have generously offered a $10 credit towards prints in their app! To enter to win this prize:

1. Follow this blog.
2. Visit the PostalPix website, and download the PostalPix app.
3. Leave a comment below telling me how you would use your prints!
4. For an extra entry, follow me on Instagram for instructions!

Good luck!!! I will announce the winner on Friday, 5/24.

*Available to US readers only. 
You can enter to win once a day through Thursday, 5/24!

Update:

And the winner is.... Jenna Guizar! Thanks Jenna!
 

Monday, April 8, 2013

A New Look!

As you can see the blog got a big redesign over the weekend, thanks to Erika at The Fairy Blogmother! She did a redesign giveaway on Instagram last week, and I was the lucky winner! (I know I've been annoying all of you who follow me in IG, but see?? It was worth it. :)

I am soooo thankful to Erika for being so generous, and for putting so much effort into the blog's new look! She was super nice and really easy to work with, so if you're thinking of adding any new features to your site, check her out here!

What do ya'll think of the new look?

Monday, June 18, 2012

Kitchen!

First, here are a couple pics of me at 38 weeks. When I look at these, I wonder who that person is. Kinda looks like me, but jeeeez look at that belly!
(Not sure why these came out so neon-y..)


Kinda hard to believe that's my baby in there, super close to coming out to play!

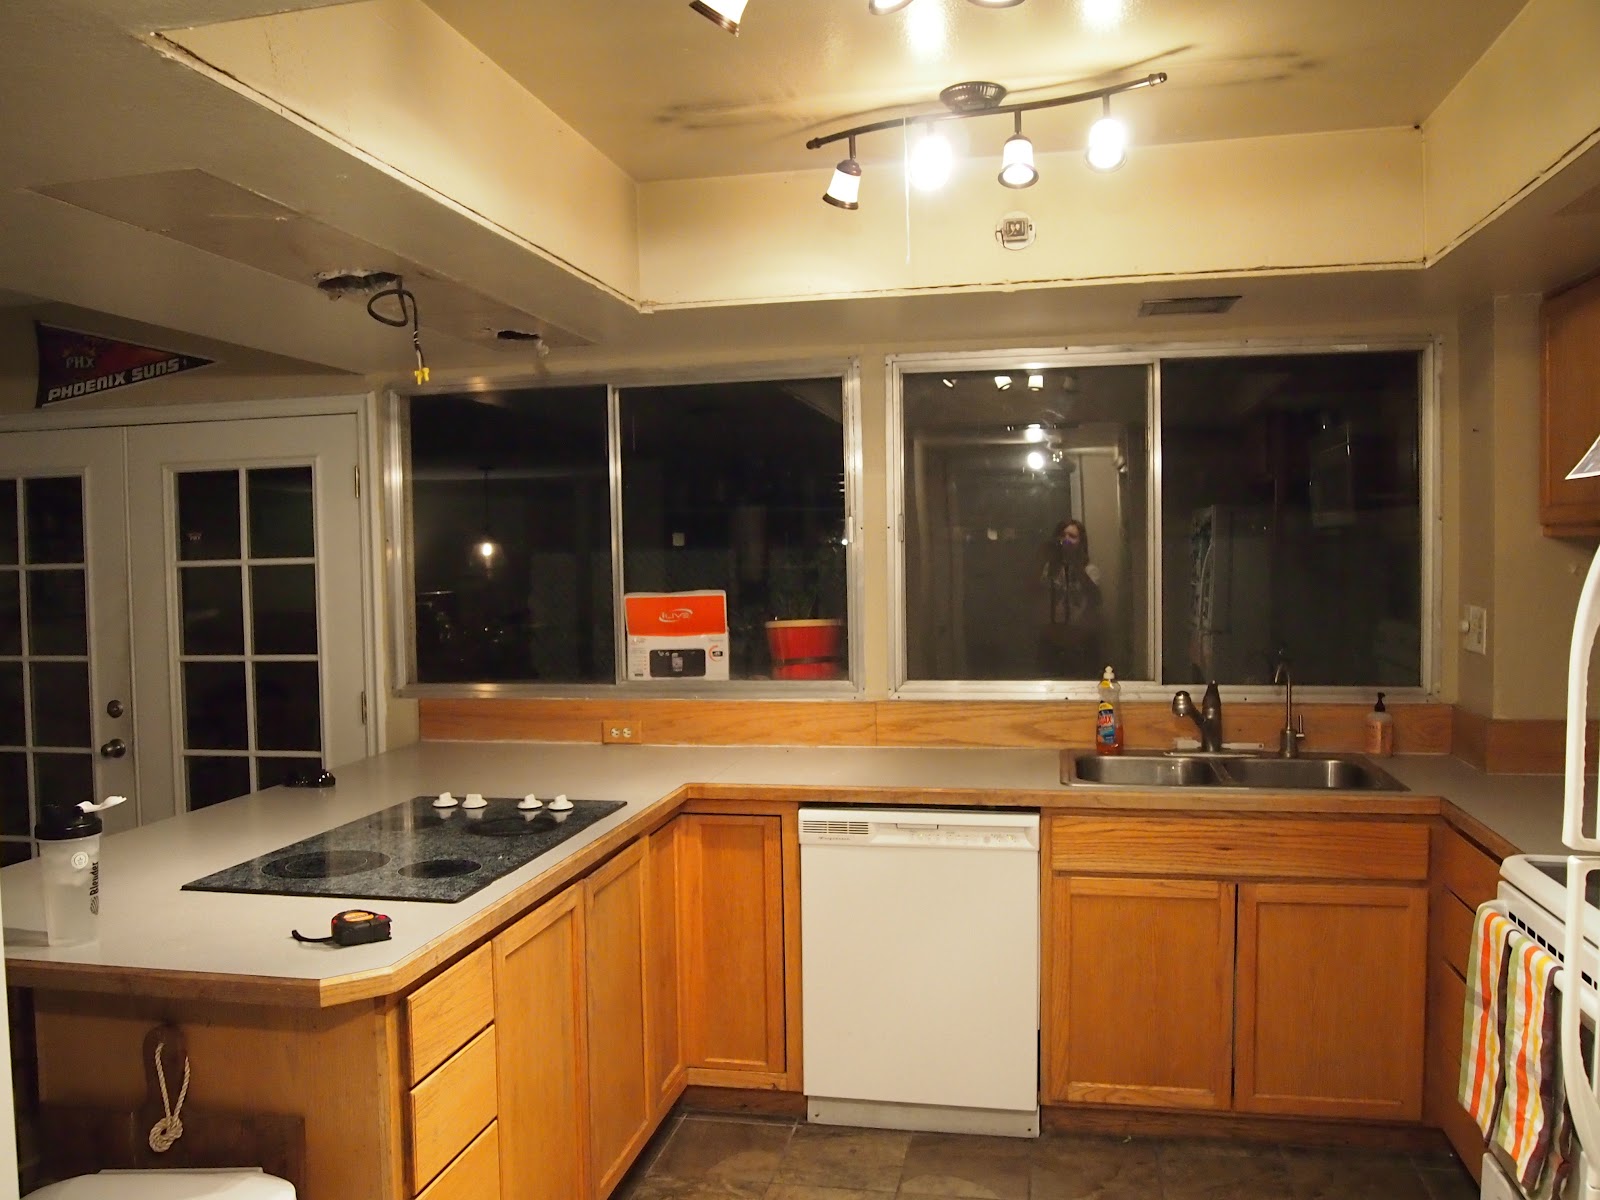
And now, for the kitchen! My husband bought our townhouse a couple years before we met, and with the market being the way it is, the house just isn't worth what he paid for it. So we really didn't want to put much money into renovating our kitchen. But it was in SERIOUS need of work, so we got creative and made some updates that we are really happy with. First, the befores:

This has been the state of our kitchen since I moved in. BORING, cheap, and just not done.

Notice the bulkhead on the ceiling. The worst.

Oh, also there were holes in it...

We have an entire wall of windows, which is nice for the light they bring in, but they're not very pretty.

Super cheap laminate countertops, with a cook top that only half works. That had to go.

This is the kitchen after the first day of demo- no more bulkhead!


And now, the afters!:

So, to keep within our tiny budget, we decided to refinish the existing cabinets. We painted them and installed bead board into the centers of the cabinet faces. We planned on painting the cabinets white, but in the end chose a nice brown-y grey. We love how they turned out!


We also put bead board up in place of a more expensive tile backsplash. We may change this later (when budget permits), but for now, we really like it! It cost almost nothing but made a really big difference.


I may have slightly over-decorated this little corner, but I really love finally being able to display some of my cute little things.


Close up of the backsplash, counter tops, and paint color.


The pic above gives you a good view of the lower cabinets, as well as the tile flooring that my husband put in when he first moved in. He made really good flooring choices, thank God! We also decided to keep the white appliances. We didn't want to spend a lot on new appliances, and we actually like the way the white ones look in the room. Who would've thought?

Please ignore that trash can. I don't know what I was thinking leaving that in the pictures. 

Eventually we will figure out some sort of functional/pretty window coverings, and maybe add a shelf above the windows. But for now, Ray and his dad built white frames to cover the cheap and ugly metal window frames.


Here's a close up of the bead board backsplash underneath the windows.

View from the entryway.


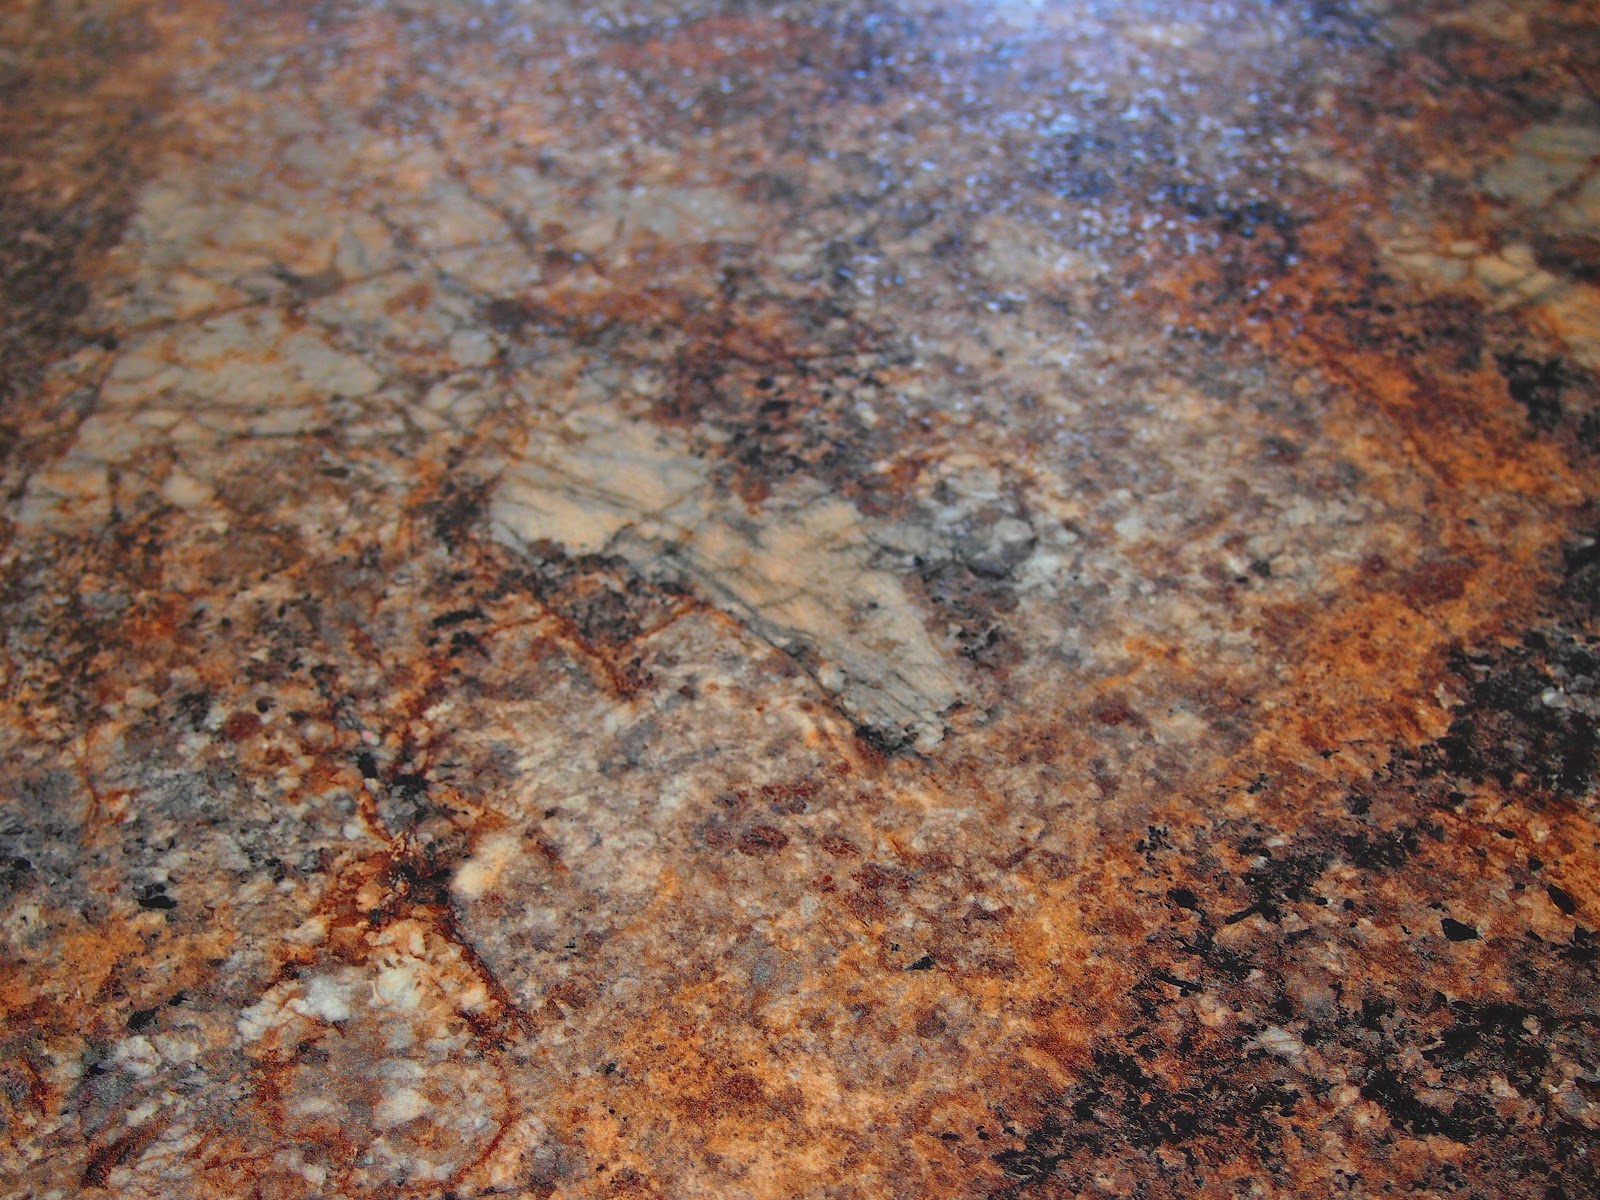
I love the island now that that awful cooktop is gone. There's so much space to work and entertain! For the counter tops, we decided it was appropriate to stick with a laminate, since again, we really didn't want to put too much money into the kitchen. I wasn't super excited about it, but we actually found a laminate that we really love. I think it looks the most like a natural stone, the colors are great, and I love the little bit of sparkle in the sunlight!

Close up of the counter top. Notice the little hint of a shimmer.


Above is the view from the kitchen into our entryway. This room seems to always be in transition, as we try to figure out the best way to use the space. For now, Ray's mom refinished this antique bar for us in the same color as the kitchen cabinets. We also just added the mirror, which really opens up the room and makes the kitchen look bigger.


This space is purely functional at the moment. I love having a place to hang my things, but it definitely needs something. Maybe a bench that doubles as seating and storage?
And then here are a few little details:

I LOVE peonies! 
I collect salt and pepper shakers, and have quite a few in the shape of little birds. These are my favorite.


My very clever husband mounted our spice rack above the stove to save space. Since the kitchen is pretty small, little things like this make all the difference.

And that's it! We are really happy with the way everything turned out. We put a lot of work in to it, and did almost everything ourselves to save money. In all, we spent about $2500, and we think we got major impact on a minor budget. 

Ray's parents were a HUGE help. They were here every weekend for what feels like months, painting, calking, framing, and just doing anything and everything we needed to get the job done. Thank you so much Ray and Laura!

My mom will be here on Wednesday to help prepare for the baby's arrival. (He is due in just 8 days, and there is still so much to do!) So, that means Ray have just 2 nights left in our house alone together, before we become parents. Wow! We're almost parents! Ray just made me brownies, without my even asking for them, so I'd say it's time for me to sign off and spend some time with my man. 

I'll leave you with this:

Our sweet little dog Bagel, who requires all of our attention at the moment. Isn't he cute?? Poor little dog. He has no idea what's coming!

LinkWithin

Related Posts Plugin for WordPress, Blogger...